Description
- Focal Length: As show
- Model Number: LS210
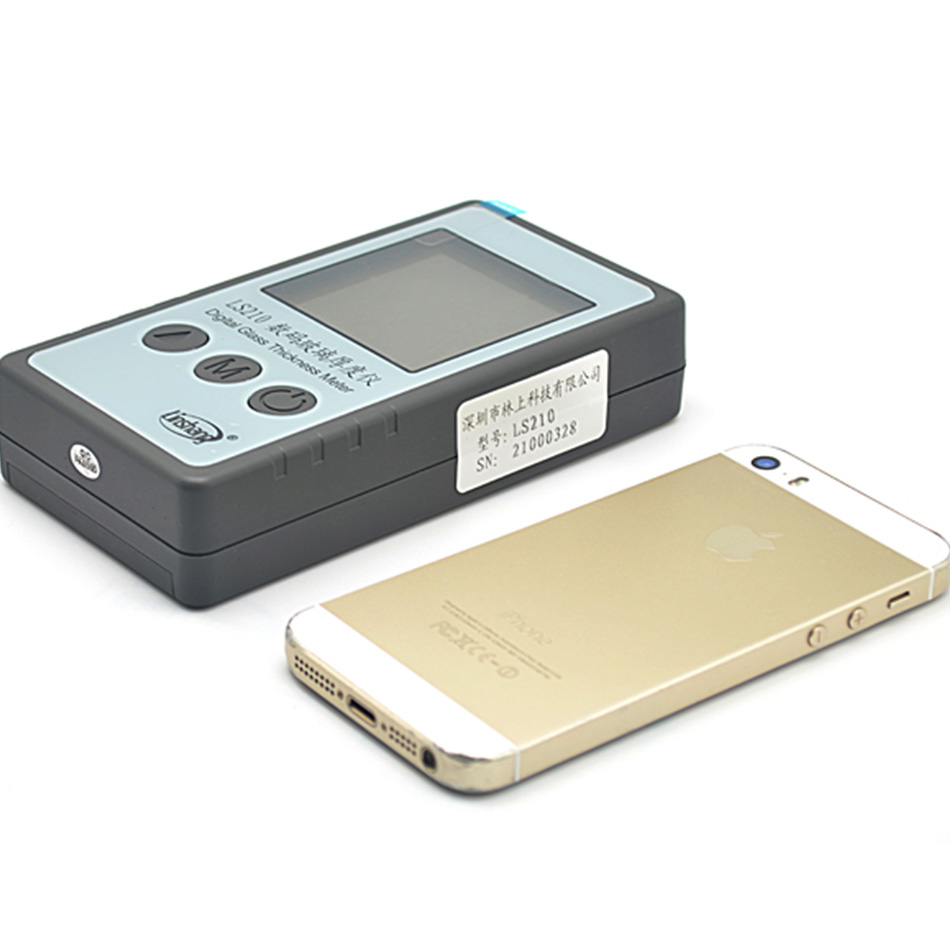
- Size: 130mm*70mm *28mm
- Measurement Range: 60mm of glass thickness, 35mm of air space
- Brand Name: niusiwen
- Weight: 200g
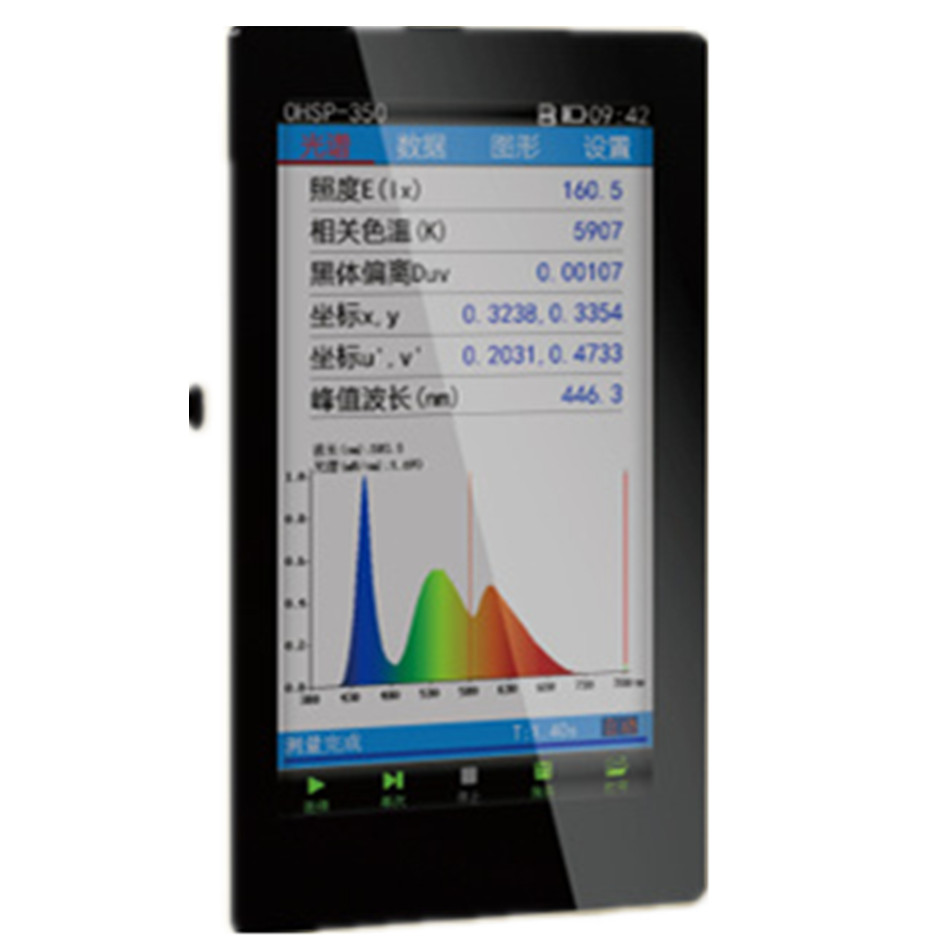
- Type: Single Beam Spectrometers
- Wavelength Range: As show
- Dimension: 130mm*70mm *28mm
- weight: 200g
- Measuring accuracy: -0.2mm
- Range: 60mm of glass thickness, 35mm of air space
- Power Supply: 4 AAA alkaline dry batteries
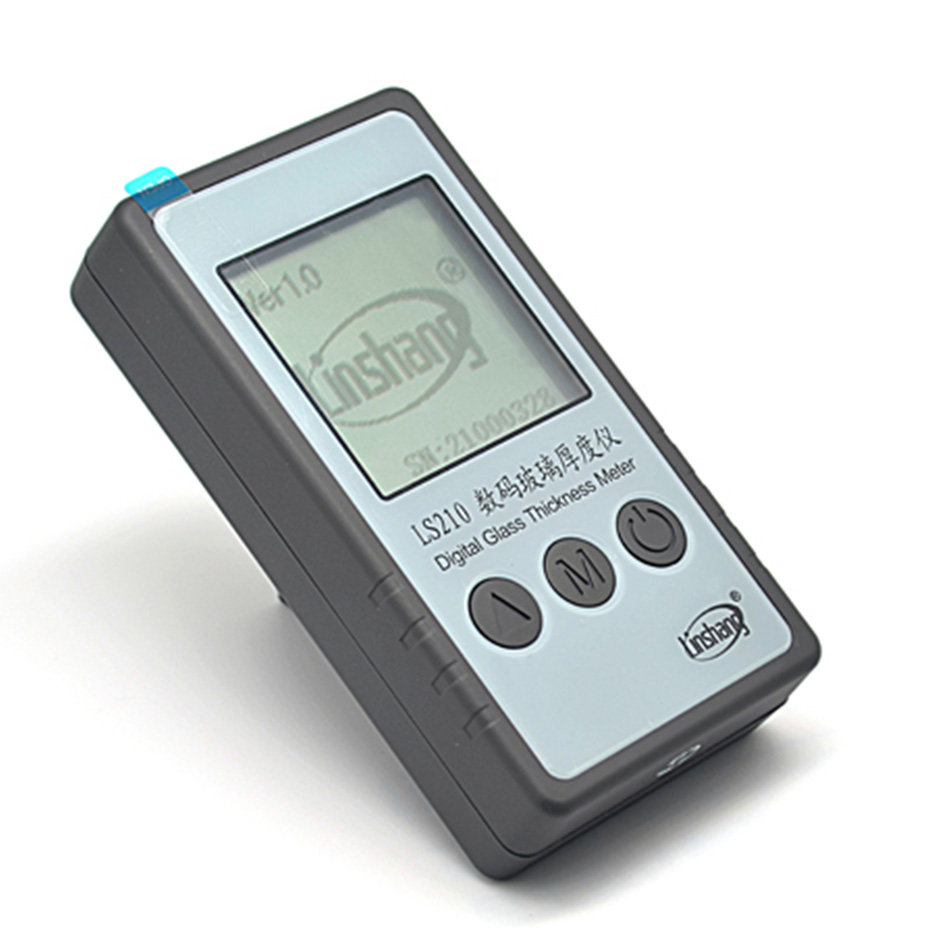
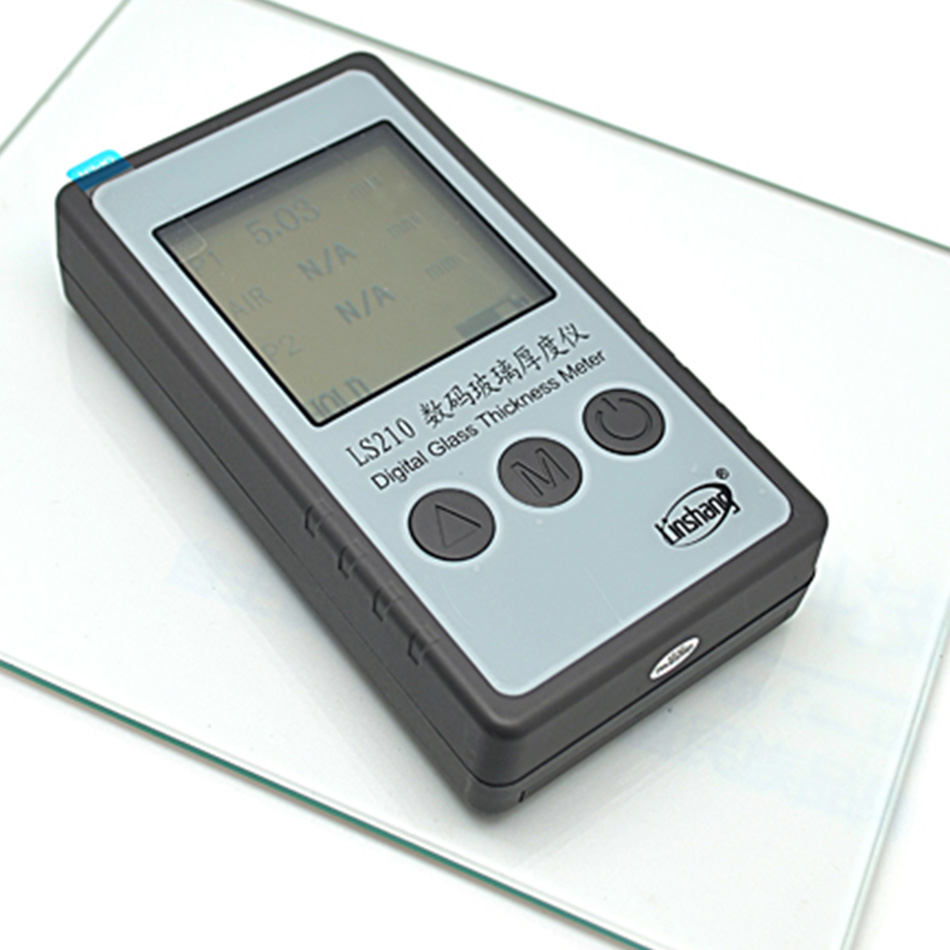
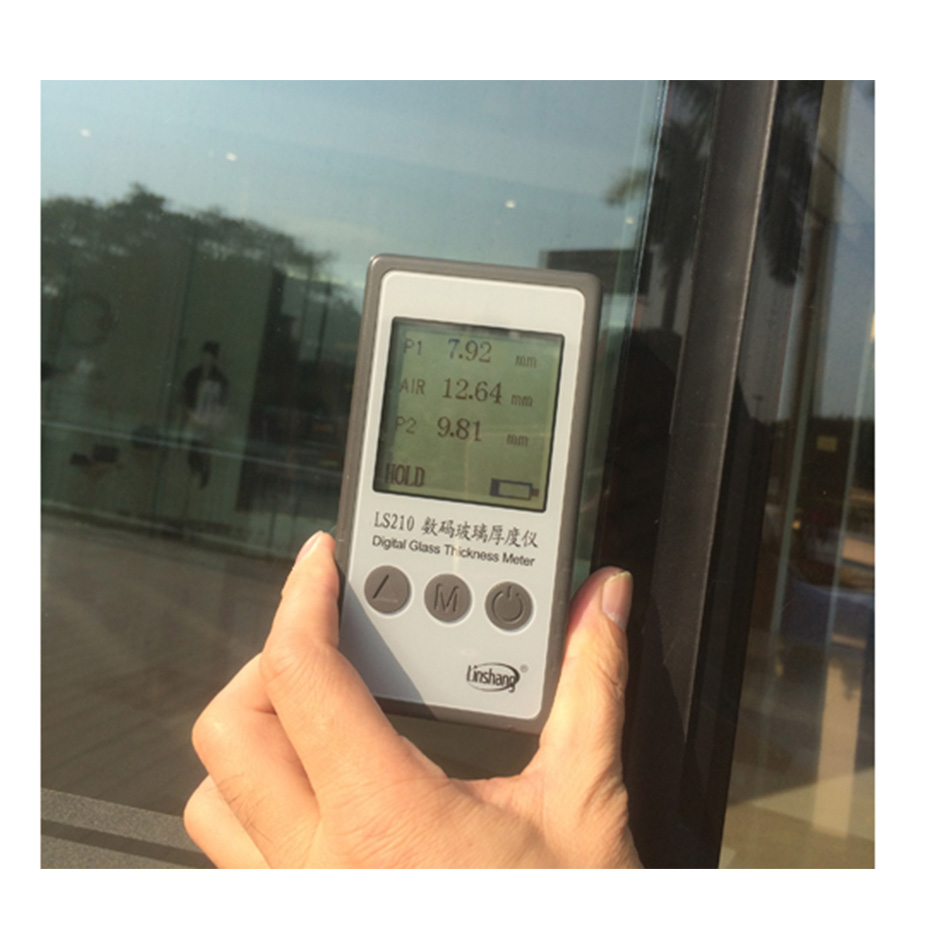
Lin Shang LS210 Digital Glass Thickness Gauge Building Curtain Wall Detector Hollow Measurement

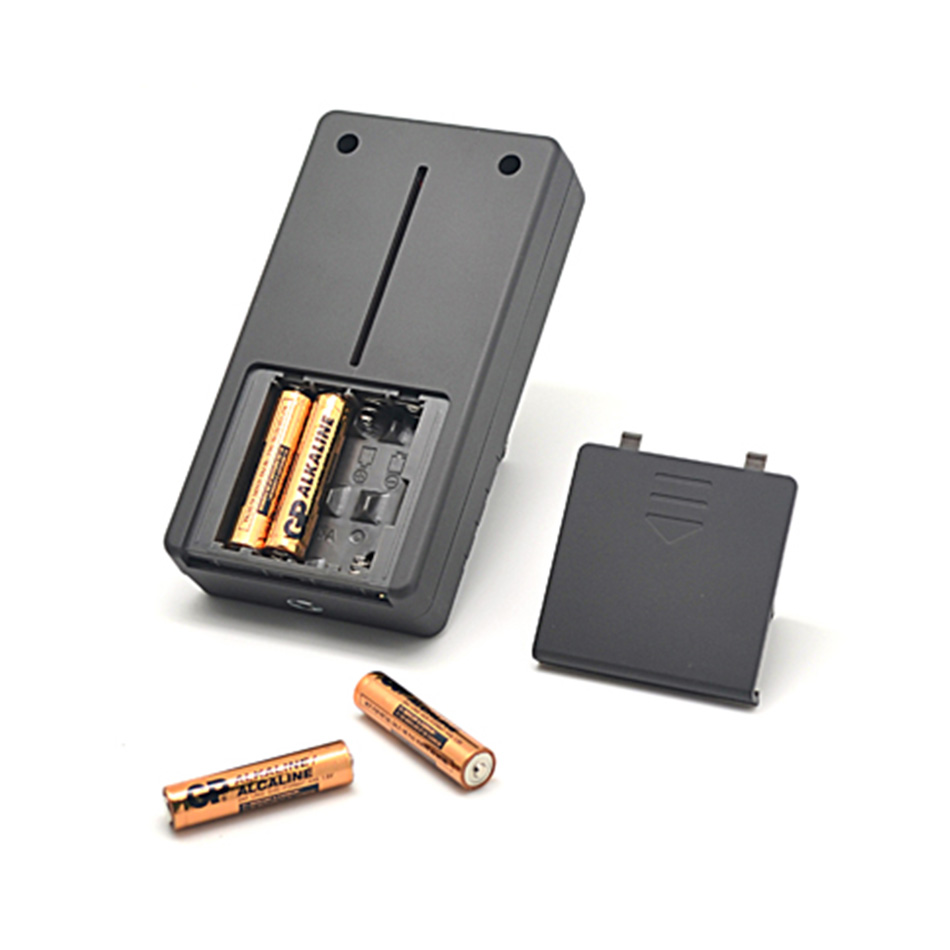 ATTENTION PLEASE:Due to the custom random check and shipping limit,the package will not include batteries!!!
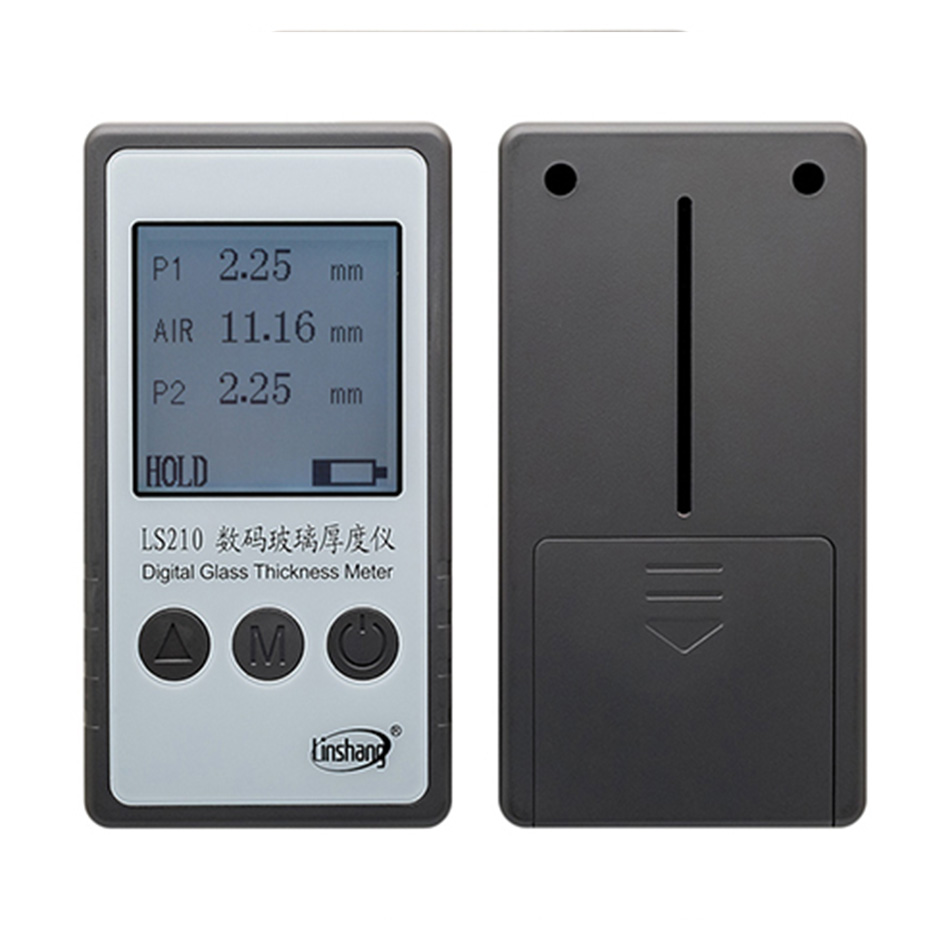
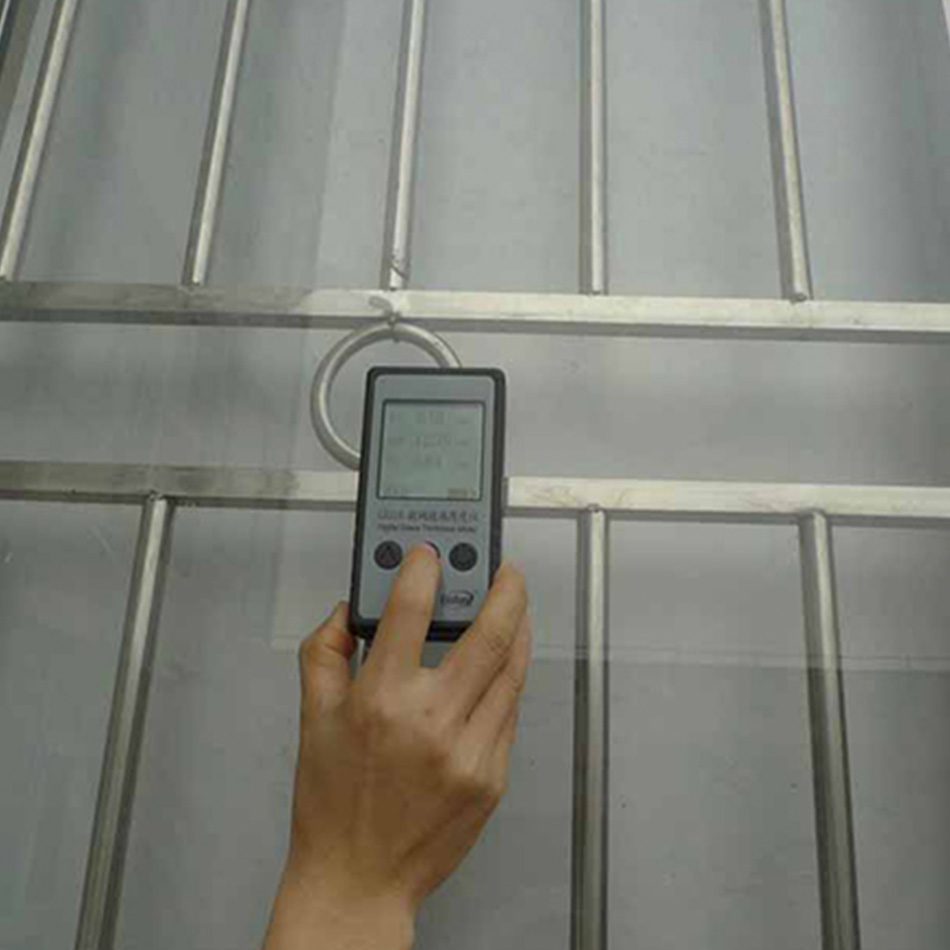

LS210 digital glass thickness Meter makes use of optical reflection principle to measure
the thickness of the glass surface on one side. It is especially applicable for occasions
where general measuring tools including scales and vernier callipers are impossible or not
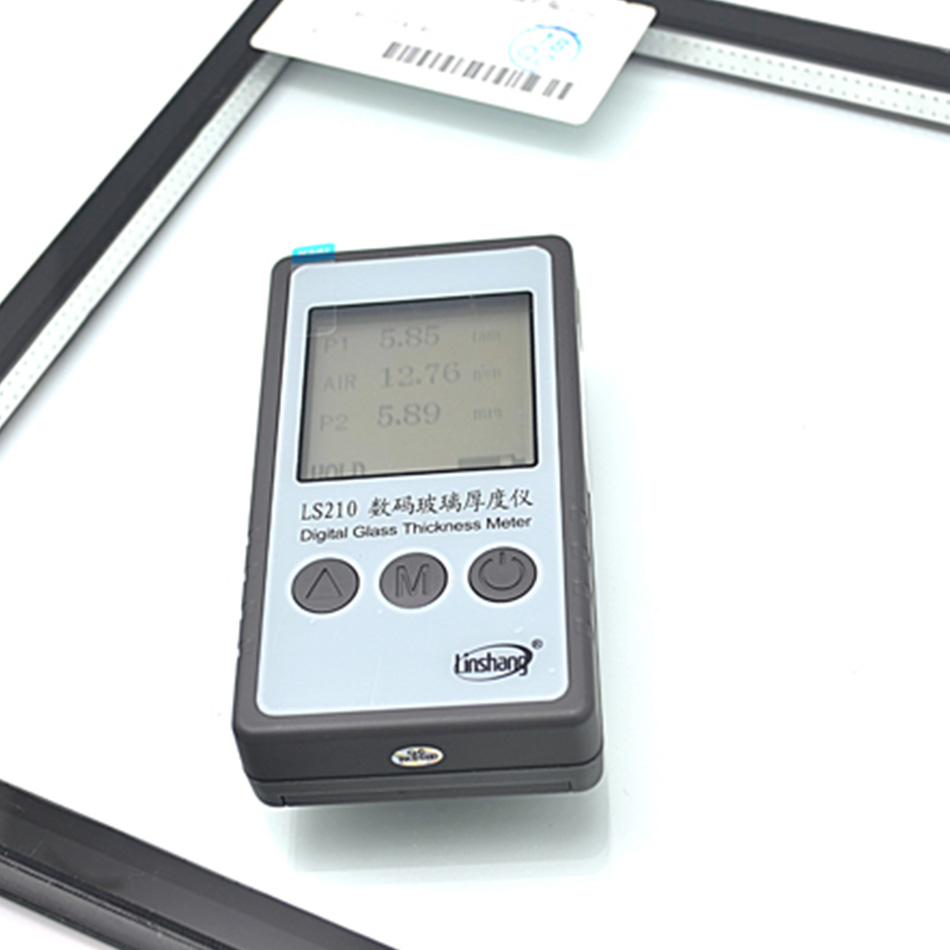
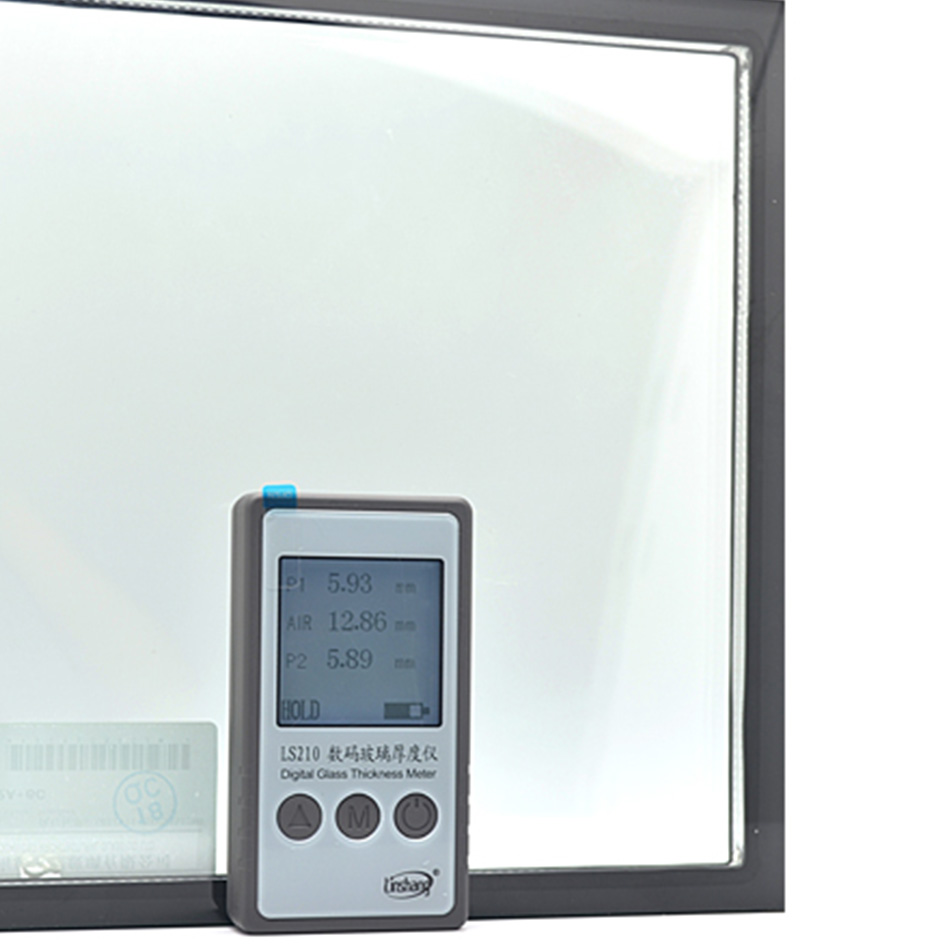
easy to measure. As for insulating laminated glass, the Meter can measure thickness of
two layers of glass and the middle layer of air at the same time. The Meter applies CCD
detection, with LCD display. It is easy to operate and quick and reliable in measuring.It is
protected by the patent with the patent No.: 201220327620.2.
I: LS210 Structure and Parameter
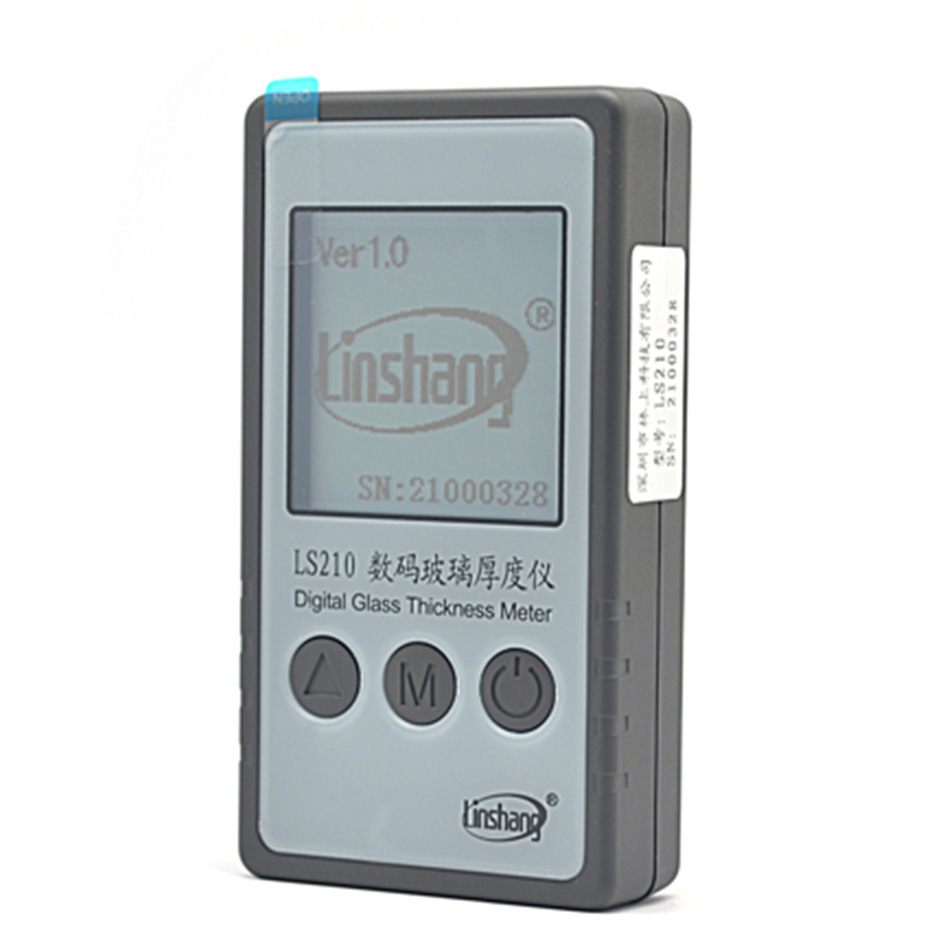
1.Dimension: 130mm× 70mm × 28mm(L× W× H)
2.weight: 200g
3.Measuring accuracy: ±0.2mm
4.Range: 60mm of glass thickness, 35mm of air space
5.Power Supply: 4 AAA alkaline dry batteries
II: Button Operations
1.Unit settings
With the Meter off, long press “ ” to enter into the setting mode.
Short press “ ” to select the unit (Unit : mm /INCH).
Short press “ ” for setting confirmation, and the Meter enters into historical data
query mode.
2.Powering on/off
Short press “ ” to power the Meter on/off. After powering on, the Meter enters into
historical data query mode and displays NO.1 group of measuring data, which is
finally obtained before the last shutdown.
The Meter will automatically power off, if no button is operated within 2 minutes.
3.“ ”button
Short press “ ” to enter into the measuring state, in which the icon “NO.x” or
“HOLD” disappears from the lower left corner of LCD. The measurement process
needs to last about 1 second, when measurement finished, the icon “HOLD” appears
to the lower left corner of LCD, with the current measuring data automatically stored to
historical record data group. During measuring, make sure that the back of the Meter
clings closely to the glass and then keep still.
4.“ ”button
The record query button is used to query the stored historical data.
9 groups of data can be stored to the record group, and the Meter will
automatically clear the oldest record values if the number of data group exceeds 9.
Short press “ ” to display data from No. 1 group to No. 9 group. After No.9
group of data is displayed, the Meter will display NO. 1 for another loop.
In the state of “record query”, long press “ ” to clear all record values.
With the Meter off, the recorded data will not be lost.
III: Measuring Operations
The Meter is designed based on laser reflection off the surfaces of the glass, and the
laser reflected beams is collected by the linear array CCD on the back of the Meter, where
the laser and CCD detector are located. When used, attach the back of LS 210 closely to
the tested glass surface,short press “ ” to enter into the measuring state.The
measurement process will last about 1 second.
Fig. 1 for measuring results of insulating glass, where P1 is the thickness of the first
layer of the glass, that is 11.88mm; AIR is the thickness of the air layer, that is
20.00mm; P2 is the thickness of the second layer of the glass, namely 11.88mm.
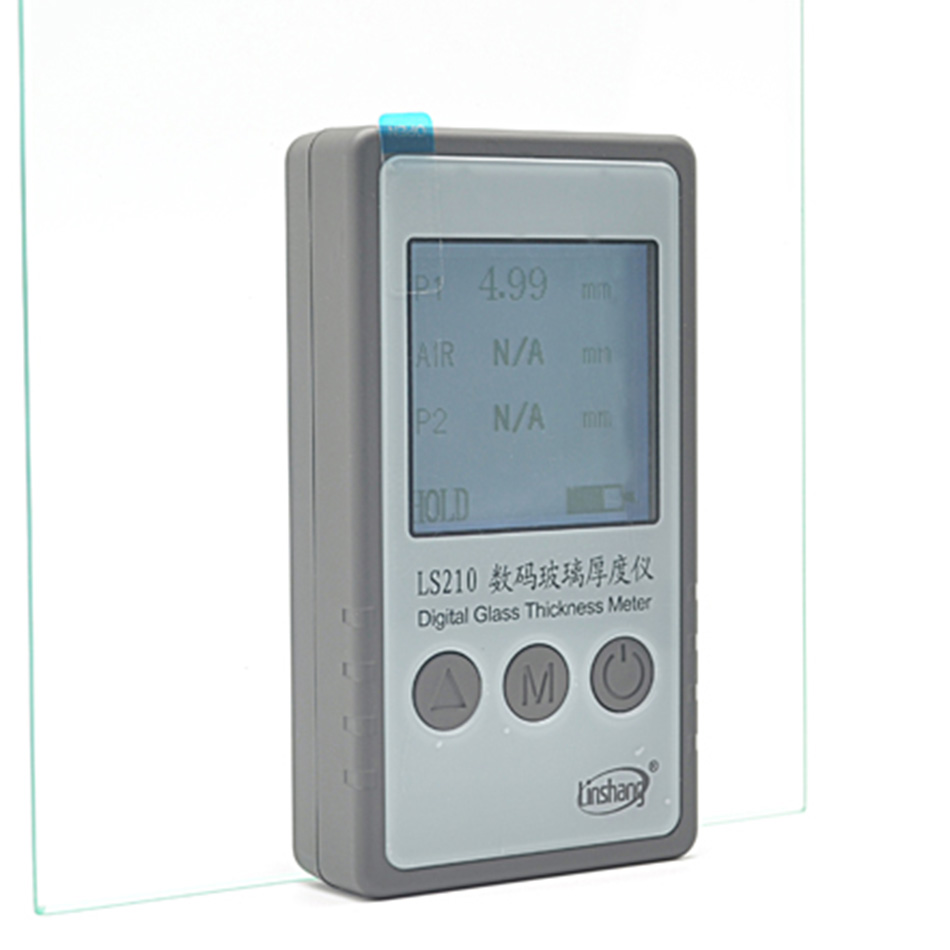
Fig. 2 for measuring results of single glass, where P1 is the thickness of the current
glass that is 9.90mm; for AIR and P2, N/A is displayed, which indicates that there is no
air layer and the second layer of glass.
Fig. 3 shows the measuring error, as there is no reasonable data measured. Reasons
for such cases are as follows:
a) The back of the Meter does not closely cling to the glass surface.
b) LOW-E layer has too high reflectivity(greater than 70%). Please try to measure
with the other side of the glass.
c) The external light is too strong. Try to prevent the back of the Meter from directly
facing the sunlight.
IV: Precautions
1. Keep the measured glass surface clean so as to improve the measurement
accuracy.
2. Try to avoid overlapping of several glass when measuring, which may lead to wrong
measuring results.
3. Keep the detector on the back of the instrument clean. To wipe the detector, use the
soft cloth or cotton swab stained with alcohol.
4. In order to improve the measurement accuracy, try to prevent the back of the Meter
from directly facing the sunlight.
5. Avoid contact with corrosive substances and keep from high temperature and high
humidity environment.
6. While battery symbol is displayed as empty and flashing, please replace the
batteries.
7.This product emits a laser beam from the back side. DO NOT point the laser at
anyone’s eyes. ALWAYS check the other side of the window being tested to ensure that
no one will be looking directly into the laser.
V: Standard Packing List
No. Description Quantity Unit
1 LS210 Digital Glass Thickness Meter 1 pcs
2 User Manual 1 pcs
3 Certificate / warranty card 1 pcs
4 Aluminum box 1 pcs
VI: Service
1. The meter has one-year warranty. If the meter works abnormally, please
send the whole meter to the company for maintenance
2. Provide users with spare parts and lifelong maintenance services
3. Provide the users with the meter inspection service for free
4. Free technical support for long term

