Description
LASERPWR newest version laser source 350W xenon lamp power supply for OSRAM short arc xenon lamp device 110v 220v Share parts

Model:
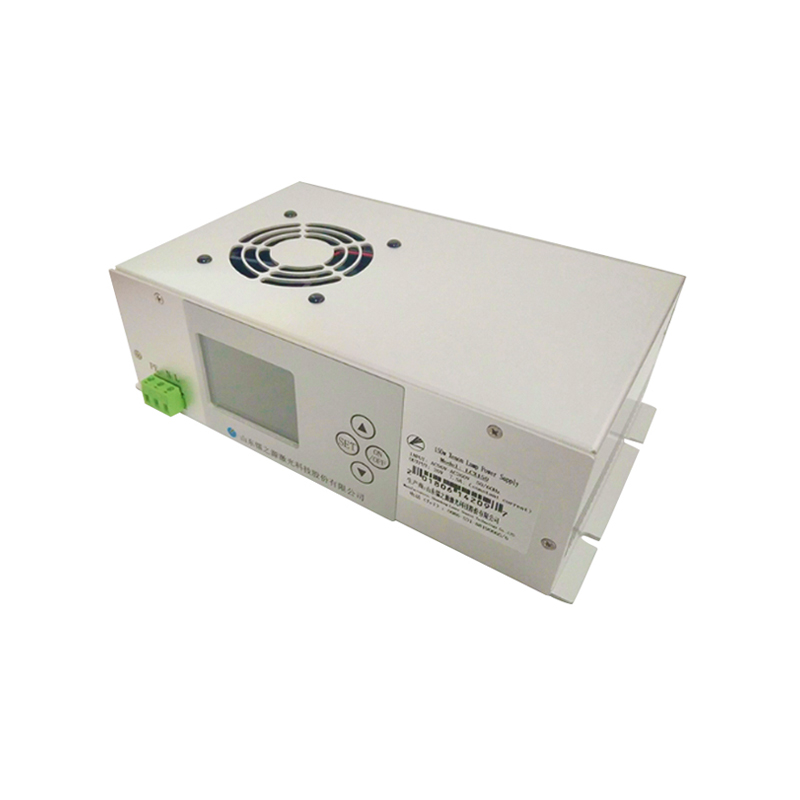
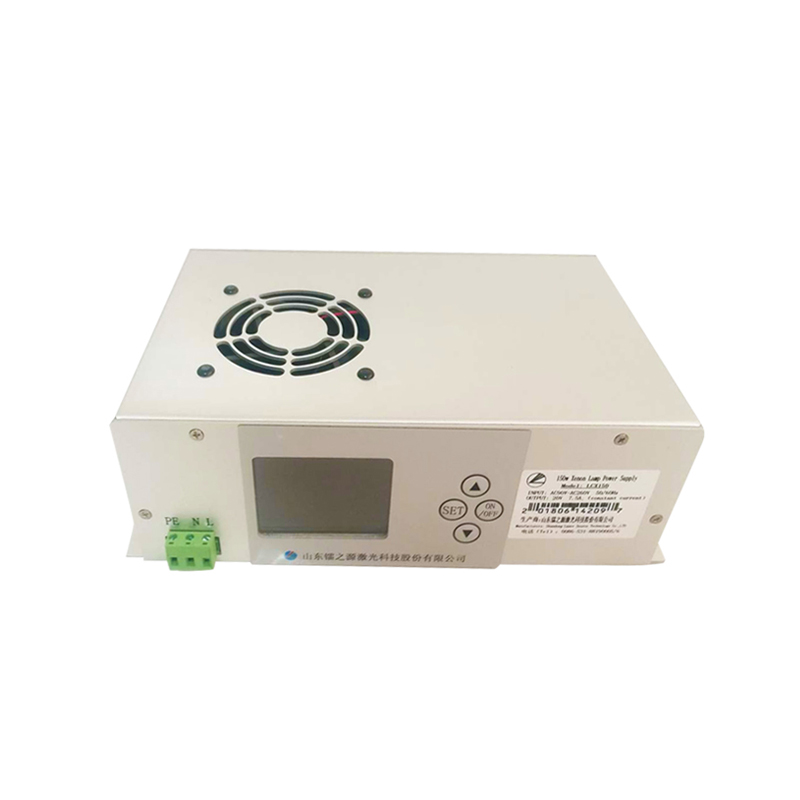
LCX350 for 350w Xenon Short Arc Lamp Power Supply
Product Features
1.Real-time voltage and current digital display, easy to monitor 2. Wide range of input voltage, can be used for any country. 3. Current can be adjusted between 10-18A. 4. Excellent efficiency and over current, overload protection and open circuit protection. 5. Integrated design of constant current and trigger module.
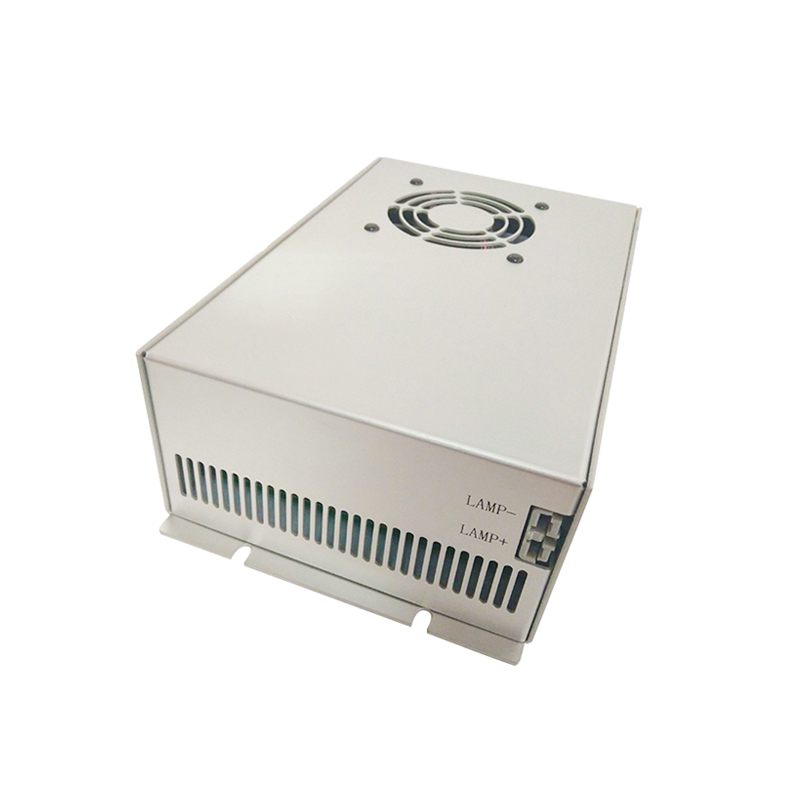
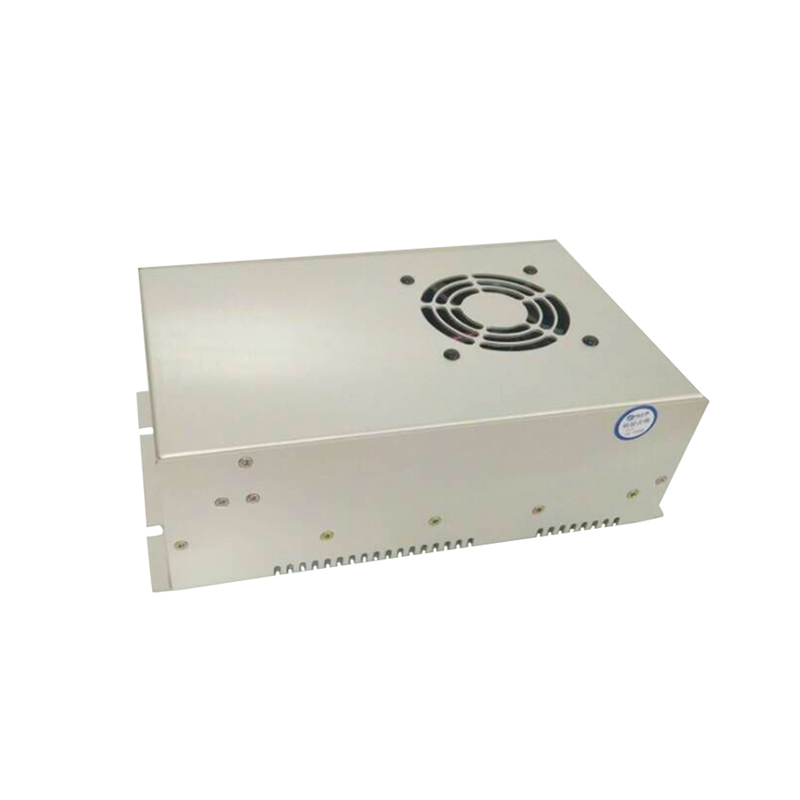
Product Pictures


Specification
|
Input
|
Input voltage
|
AC90V-AC260V
|
|
|
AC frequency
|
50/60Hz
|
||
|
Cold surge current
|
≤60A(AC220V input)
|
||
|
Leaking current
|
≤0.7mA(AC220V input)
|
||
|
Output
|
voltage ripple and noise
|
<200mV
|
|
|
Max output current
|
DC18A
|
||
|
Current ripple and noise
|
<5%
|
||
|
Temperature drift
|
<100ppm/℃
|
||
|
Stability
|
<0.2%
|
||
|
Efficiency
|
≥85%(full load)
|
||
|
Mean time between
|
≥50000 hours
|
||
|
Withstand voltage
|
Input-output,output-cover:AC1500V 10mA 60s;output-cover:DC100V 10mA 60s
|
||
|
Protection
|
over current,overload protection, open circuit protection
|
||
|
Working environment
|
Working temperature(-10~50)℃, humidity ≤90%
|
||
|
Cooling
|
Air force cooling
|
||
|
Dimension(mm)
|
L×W×H= 265× 157× 82
|
||
Connectors
1.Input and output connectors

Instructions:
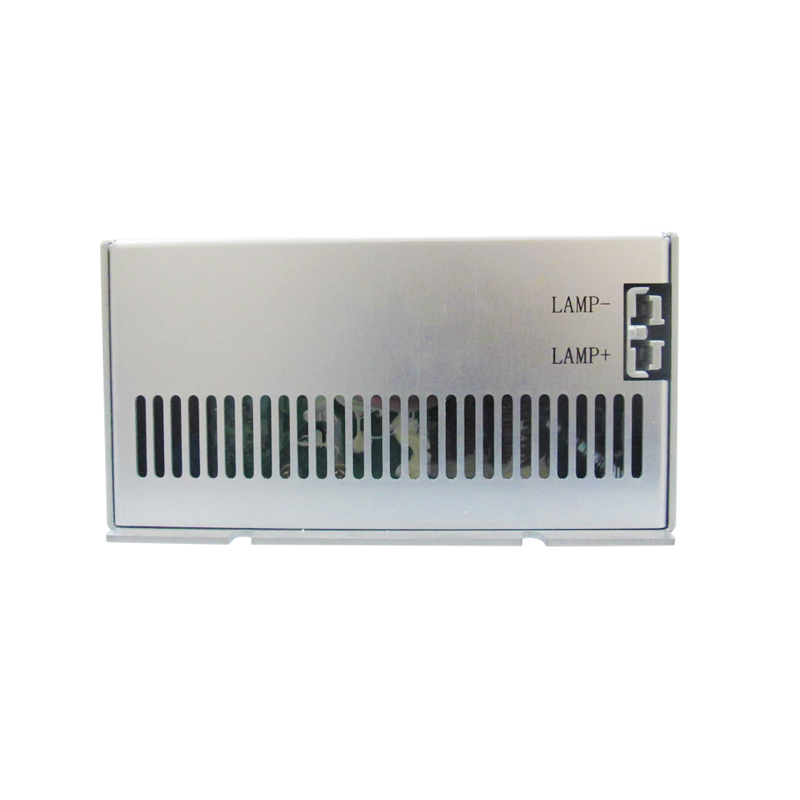
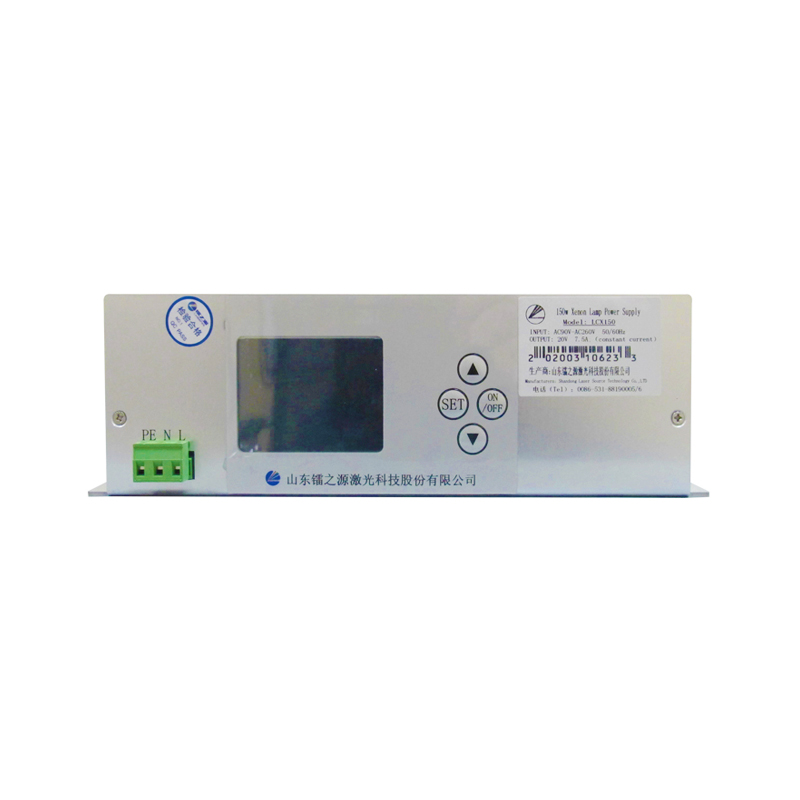
① AC input —— L、N connects 90~260V 50/60Hz AC,PE connects ground ② Output —— connects short arc xenon lamp; LAMP- connects cathode of xenon lamp, LAMP+ connects anode of xenon lamp.
2. Screen and buttons

Instructions:
① Screen ——shows company information,trigger mode,output voltage,current,web,etc. ② “SET” ——set “Trigger” model and “SetPoint” mode; ③ “UP” ——increase set current or switch “Auto” and “Manual” trigger mode; ④ “ON/OFF” ——under “Auto” mode, control the output and stop of power supply; ⑤ “Down” ——reduce set current or switch “Auto” and “Manual” trigger mode; ⑥ Company Name
Screen Information & Buttons
1. Information on screen
Trigger:trigger mode, “Auto” means triggering the lamp automatically when power on,”Manual” means triggering lamp manually; can set by buttons, when the mode is reset, it’s only valid after restarting power; Voltage:working voltage after lighting the lamp; Current:working current after lighting the lamp; SetPoint:set current, can be changed by buttons;
“Auto” and “Manual” interfaces are as follows:


When input voltage is less than 90VAC the screen will show “Input Under Voltage”, the power supply will stop output. And when user does not turn off the power, even the input voltage returns normal it will still show “Input Under Voltage”. When input voltage is more than 264VAC, the screen will show “Input Over Voltage”, and the power supply will stop output. And when user does not turn off the power, even the input voltage returns normal it will still show “Input Over Voltage”. When output current is more than 9A the screen will show “Output Over Current” and power supply will stop output, the fault information is like this:

2. Buttons control
“SET”
Press “SET for 1.5sec and enter set mode, touch it softly then it will switch “Trigger” and “SetPoint”, if 5 sec no operation then it will save the setting automatically.. Press the button for 1.5sec it will cancel the setting and does not save the data.
“UP”
Press it then the current will increase by 0.1A;under trigger mode it can also switch trigger mode;
“ON/OFF”
Under “Auto” mode it can control the lighting of lamp by pressing this button;
“DOWN”
Press it then the current will be reduced by 0.1A; under trigger mode it can also switch trigger mode;
Operation Instruction
1. The xenon lamp is connected by a high-current connector, LAMP+ red wire connects anode of lamp, and LAMP- black wire connects cathode of lamp;(Wrong connection is forbidden.) 2. L, N connects 90~260V 50/60Hz AC, PE connects ground; 3. After connecting with electricity the screen will be lightened and the blower will rotate, under auto mode it will trigger the lamp after 2sec, then it will show the information like voltage current etc. 4. You can set the current and trigger model through the button “SET””UP””DOWN” 5.The xenon lamp off after the AC power off, the output current and trigger model is the same as last time when restart the AC power 6.Please set the power supply output current according to Short arc xenon lamp rated current.
The dimension is L×W×H=265×157×82 (mm), can use M4 screw to install.

Please do not block the ventilation holes and fans when install and fix the power supply.
Notes & Warning
1. Pay more attention on the connection between LCX350 power supply and xenon lamp. OUTPUT- Black cable connect xenon lamp” – “,OUTPUT+ Red cable connect xenon lamp”+”(forbid electrodepositive), avoid damaging the xenon lamp. 2. It needs wait 3minutes at least to turn on the lamp again; 3. Forbid cover LCX350 xenon power supply air vents and fan. 4. If LCX350 power supply install into a bigger case, guarantee cross-ventilation from inside and outside of the big case, keep good heat dissipation, high temperature will break the xenon power supply. 5.LCX350 power supply own open circuit protection function,the power supply will stop output when open circuit 3secs-5sces(or no connect xenon lamp)The power supply can return to normal work after turn on the power.
The output terminal with high voltage, forbid measure the output voltage directly!!! Don’t turn on the power without connect the xenon lamp.

Reviews
There are no reviews yet.