Description
- Brand Name: EVERGOOD
- Certification: None
- Origin: Mainland China
- Model Number: EPX10000
- With LCD Screen Or Not: Yes
- Power Type: Rechargeable
- DIY Supplies: Electrical
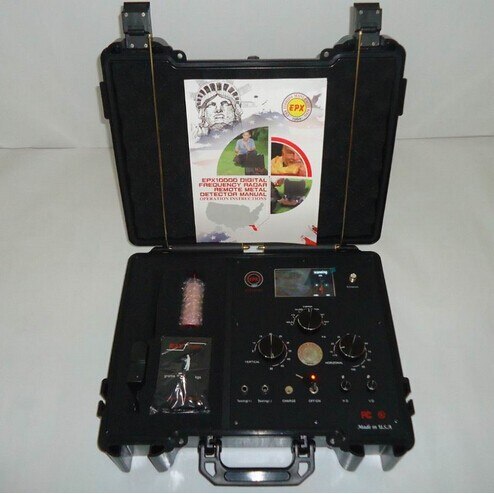
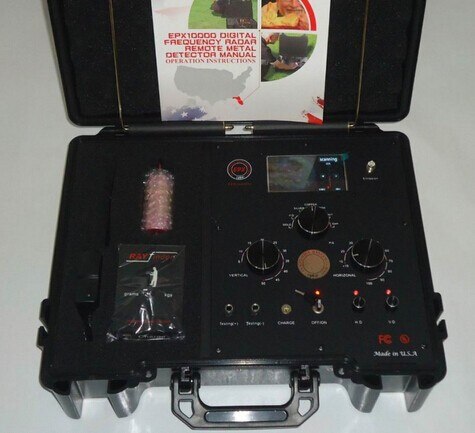
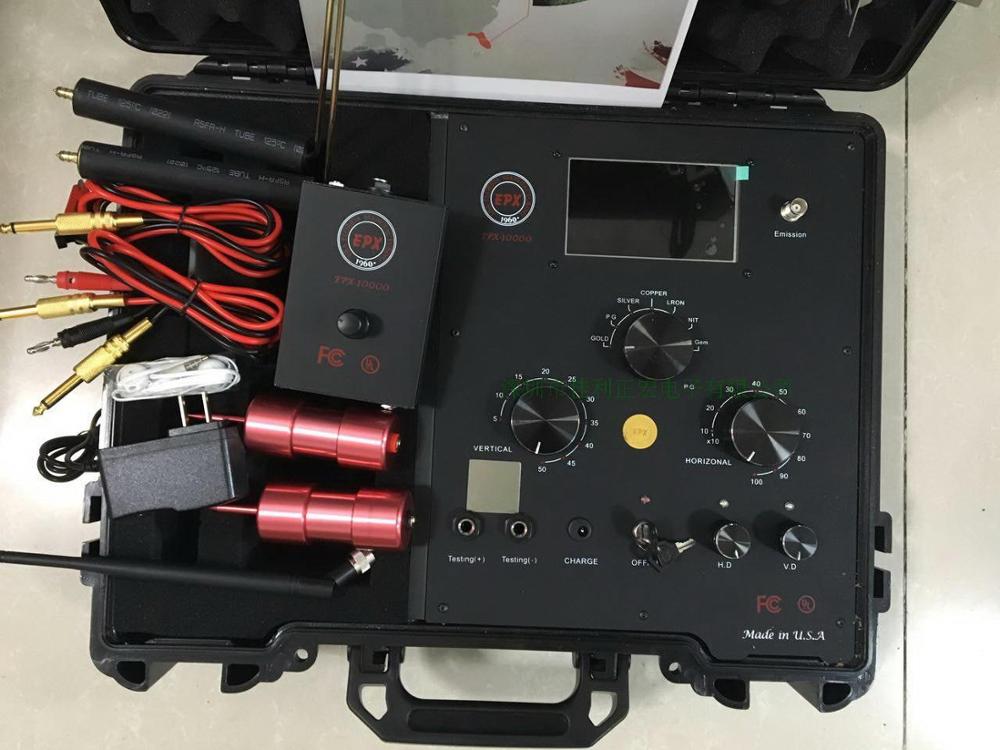
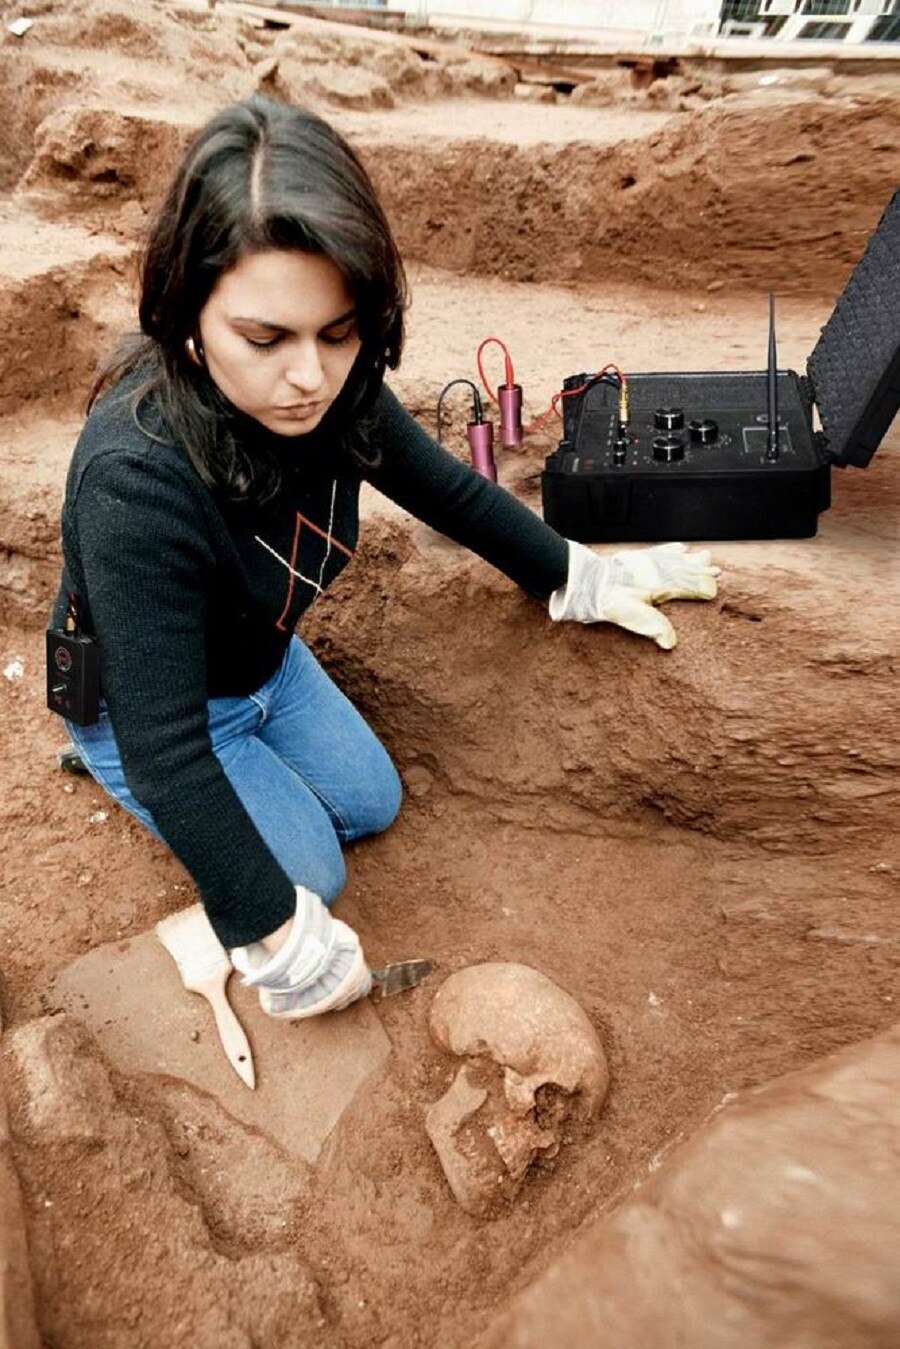
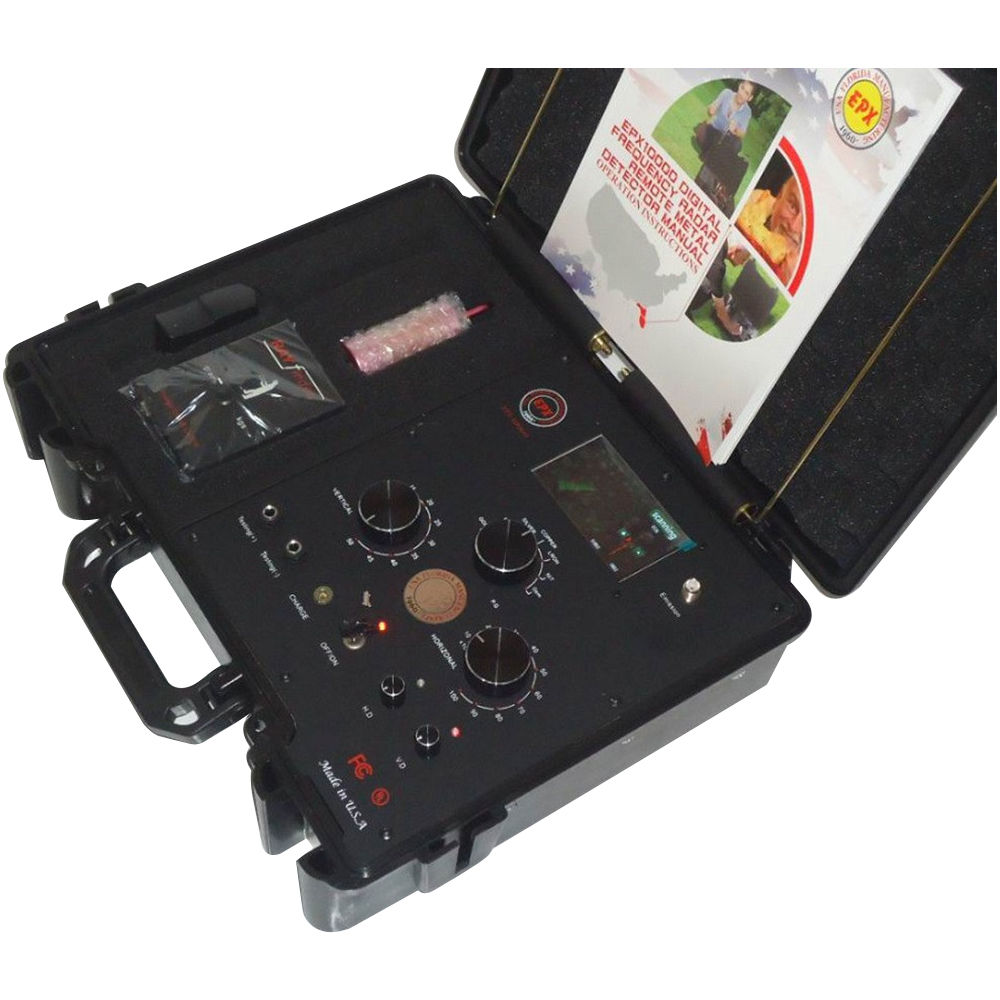
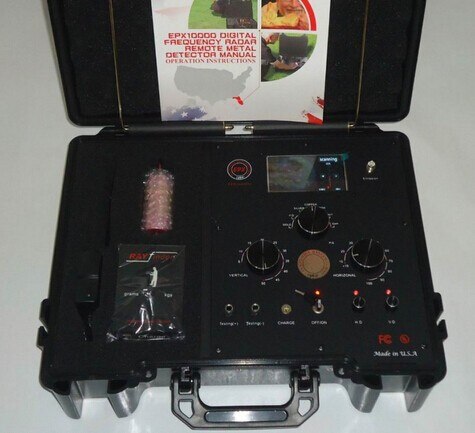
2018 New EPX10000 Long Range Underground Metal Detector with Degausser Eliminate Interference Signals
Control installation
Note: before the daily operation, the battery must be charged! If you do not charge, just will cause EPX10000 failure. If you show the same, this may be the first hint that the battery voltage is too low, you must charge. If the battery charge a whole night, the battery is still no electricity, you need to replace the battery or charger, or AC power output without electricity. If the battery is fully charged, the battery may need to be replaced. A new battery of batteries can work for EPX10000 about 8 hours.
Before opening the scanner, the transmitter is placed on the ground, and the sensor antenna is connected to the corresponding jack of the transmitter. When the transmitter is open. Absolutely do not plug the sensor, if so, it will cause damage to the machine.
Prior to using the EPX10000 scan, the first to do all necessary to connect the instrument.
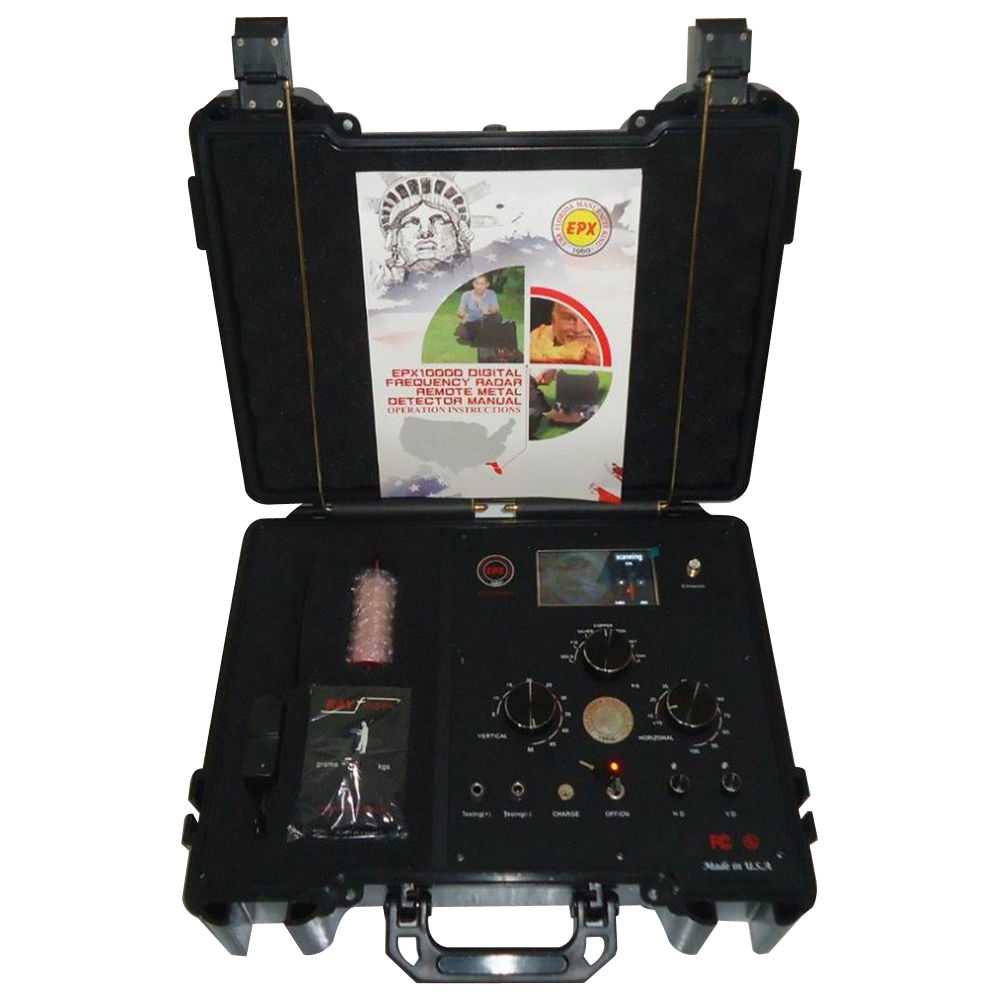
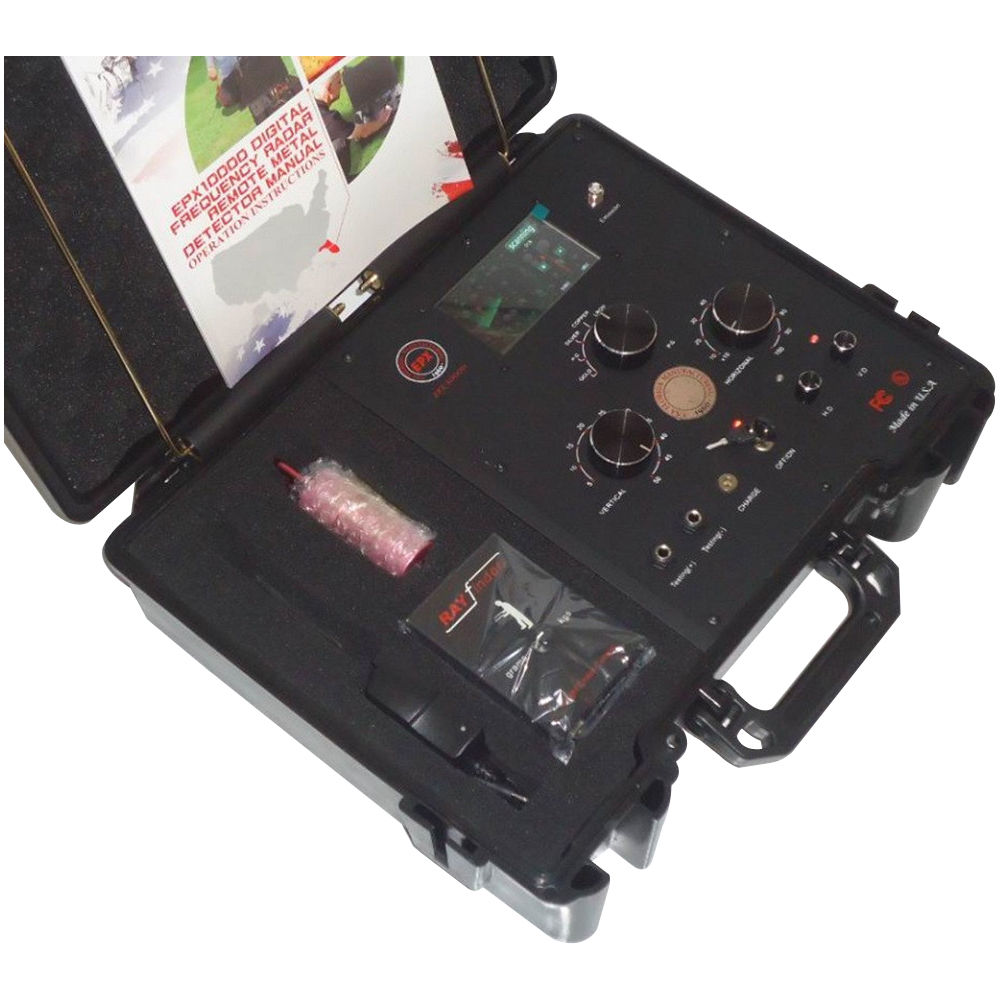
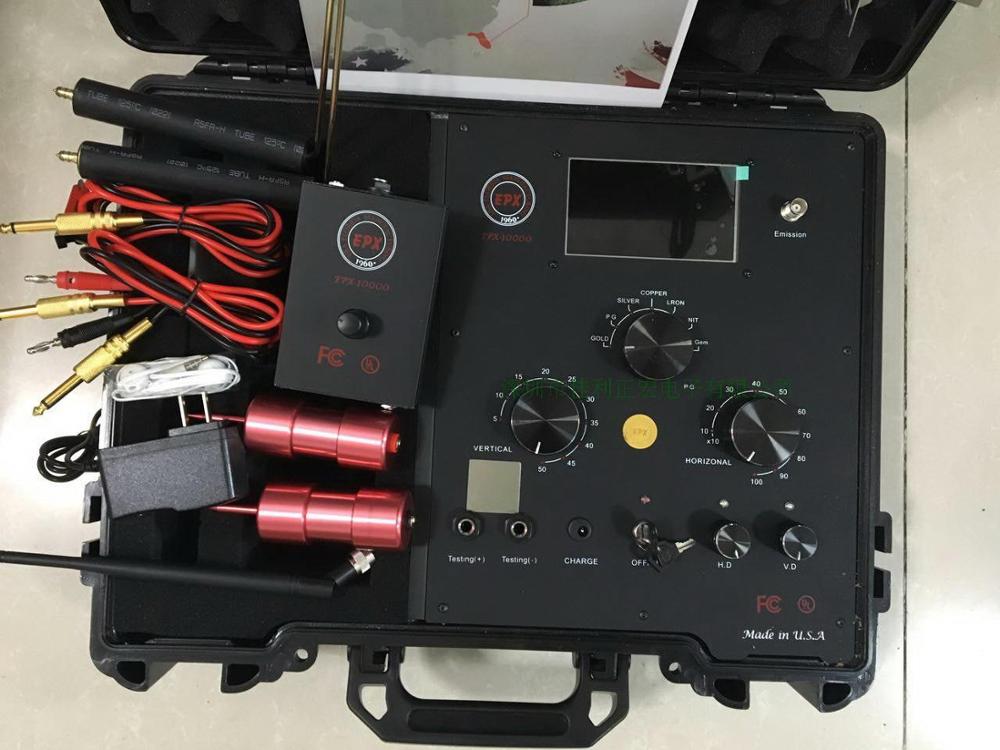
1, the sensor is connected to the scanner testing (+) testing (-) on the hole, and the sensor probe into the soil
2, the signal is emitted by the transmitter antenna device in the corresponding interface.
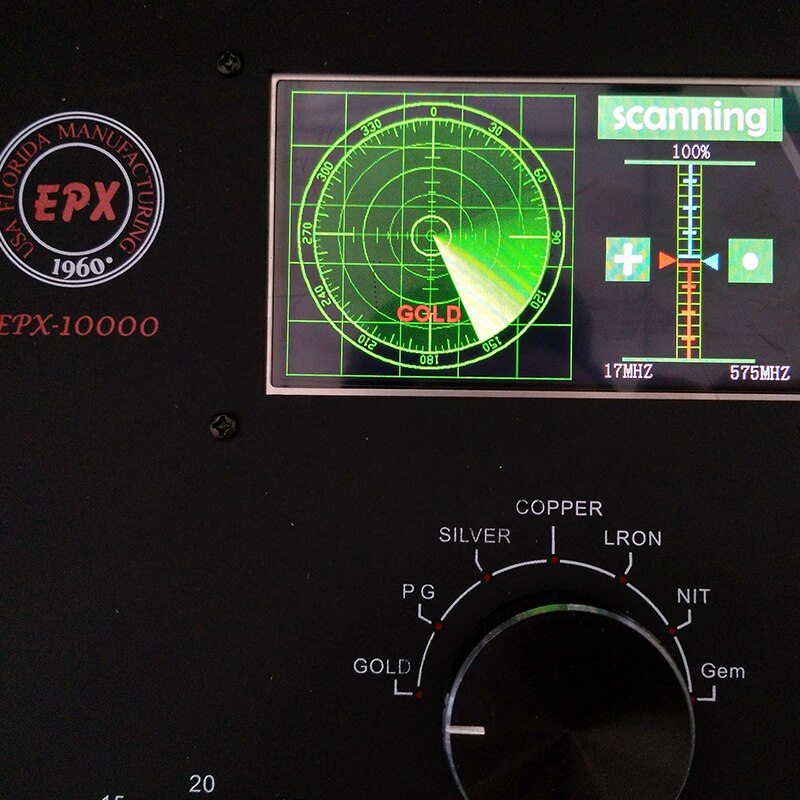
3, with the power key to rotate the On/Off knob, turn on the power supply. At this time, in the liquid crystal display area, the power indicator light, the horizontal trimming, the longitudinal micro adjustment indicator light.
4, at this time, EPX10000 is scanning any of the selected elements. Before starting the program, please run 3-5 minutes, which will be followed by a simple explanation.
5, after the end of the operation, remember to turn off the EPX10000 power. In order to facilitate the use of the instrument, the battery needs to use a small charger connected to the power supply line charger.
Technical parameters:
1, check the depth range: 5-50m
2, check the distance range: 100-1000m
3, rechargeable battery: 8 hours of continuous work
4, voltage: 12VDC
5, temperature range: 450C a 850C
6, working humidity: 0~95% (non condensing)
7, 16 processor.40MIPS speed – 160MHz
8, 32 bit DDS synthesis chip. Output waveform
9, digital frequency synthesis X20PLL automatic frequency stabilizer, 0.1Hz
10, color LCD display, the resolution of 480×320 pixels
11, weight: 6.6KG gross weight: 10.5 KG
12, product size: 47X37X13.5cm
INSTALLATION
Scanner control installation
Note: Before the daily operation, the battery must be fully charged! If you do not charge it, the EPX10000 might go wrong. If abnormal , this may be the first time warning that the battery power is too low and must be charged. If the battery power is charged a whole night, after that, the battery is still no power, you need to replace the battery or charger, or AC power outlet without electricity. If the battery is charged,but it is not full of power,you may need to replace the built-in battery. A new fully charged battery can let EPX10000 continue to work about eight hours.
Before turning on the scanner, put the EPX10000 transmitter on the ground, the sensor antenna is connected to the corresponding jacks of the transmitter. When open the transmitter,never plug the sensor, if doing it, it will cause damage to the machine.
Previously used EPX10000 scan,first make all the necessary connections.
1.The sensor is connected to the scanner testing (+) testing (-) on the jack, insert the probe of sensor on the earth
2.The transmit antenna signal transmission is mounted on the corresponding interface
3. with the power key is turned “On / Off” knob, turn on the power. At this time, in the LCD area, power indicator,horizontal trmming,longitudinal trmming indicator lights.
4. at this time, EPX10000 is scanning all selected element . Before starting the detection process, please let it work 3-5 minutes, which will be briefly explained later.
5.after the end of the operation, remember to turn off EPX10000. For ease to use,the instrument requires the use of a smll battery charger is connected to the power line charg instrument.
Receiver – The rotary switch on the top of the receiver panel are the headphone and the antenna jack. When do not use, do not connect the antenna rods with the receiver! If the antenna rod is saved with it inserted in the receiver , it will cause the battery to drain.
Receiving antenna rod – rod antenna is designed to point out to the operator that he / she has entered a power transmission line between the sensor and the target. Under normal circumstances, the operator should hand held the antenna rod stably and balanced, as high as your waist, and slightly in front of the operator. When hand held the antenna rods, rod antenna should is pointed to the front and parallel to each other and separated by 8-18 inches away. Everyone needs to find their own best distance. It takes trial and error to find. Please remember, the people who operate this device, calm relaxed person will do better than the tense stiff! When you enter the RF energy line, measured metal,the antenna rod will naturally cross.
And the radar scan pointer will stop in one location. When the antenna and radar cross and the scanner pause, you see the dawn of victory would come.
dawn of victory would come.
